
After living in the house for five years, interior painting of all the main living spaces was a priority. Freshly painted white walls are space expanding, neutral and airy. Dull and dirty white walls are depressing reminders of the fact that your space needs refreshing. I couldn't take it any more and Project Girl took over. A one hour color consultation was all that was needed to get things started. The walls, ceiling, and all of the trim in the living, dining, kitchen, family room and hallways were headed for a new life.
Interior painting is a relatively straightforward project: Prep, apply 1st coat, let dry, apply 2nd coat, let dry, clean up and enjoy. However, there are a few tricks that make this go even more smoothly. Here are Project Girl's Top Tips for Interior Painting:
1. Know what you can and cannot do: If 16 foot ceilings are in the mix, hire a pro to do the hardest and most demanding physical jobs. It will take the pro a maximum of two days to get this kind of a job done and then that blank canvas of the walls will be all yours to transform. We covered a lot of square feet in our interior painting project and the few hundred dollars invested in the pros doing the ceiling beat the cost of me possibly killing myself as I fell off a ladder. I can assure you I would have ended up in physical therapy from the extended strain on my neck, shoulders and arms if I had tried to roll that much paint overhead. If for some reason I had survived the task, my enthusiasm and energy would have been greatly diminished and I would not have been able to tackle the walls.
2. Use a merino wool roller: A friend who paints houses for a living turned me on to this trick. Merino wool rollers hold more paint, roll smoother, and are easier to clean up. It makes applying paint to textured walls go faster. I would say that rinsing out the Merino wool roller takes about 40% less time than trying to thoroughly rinse a polyester roller. One roller endured purple, two tones of a warm grey and a bright green without a hitch. In fact, that roller is still usable. Skip the $5.00 for 5 offer on polyester rollers and invest the $20 in one good merino roller.
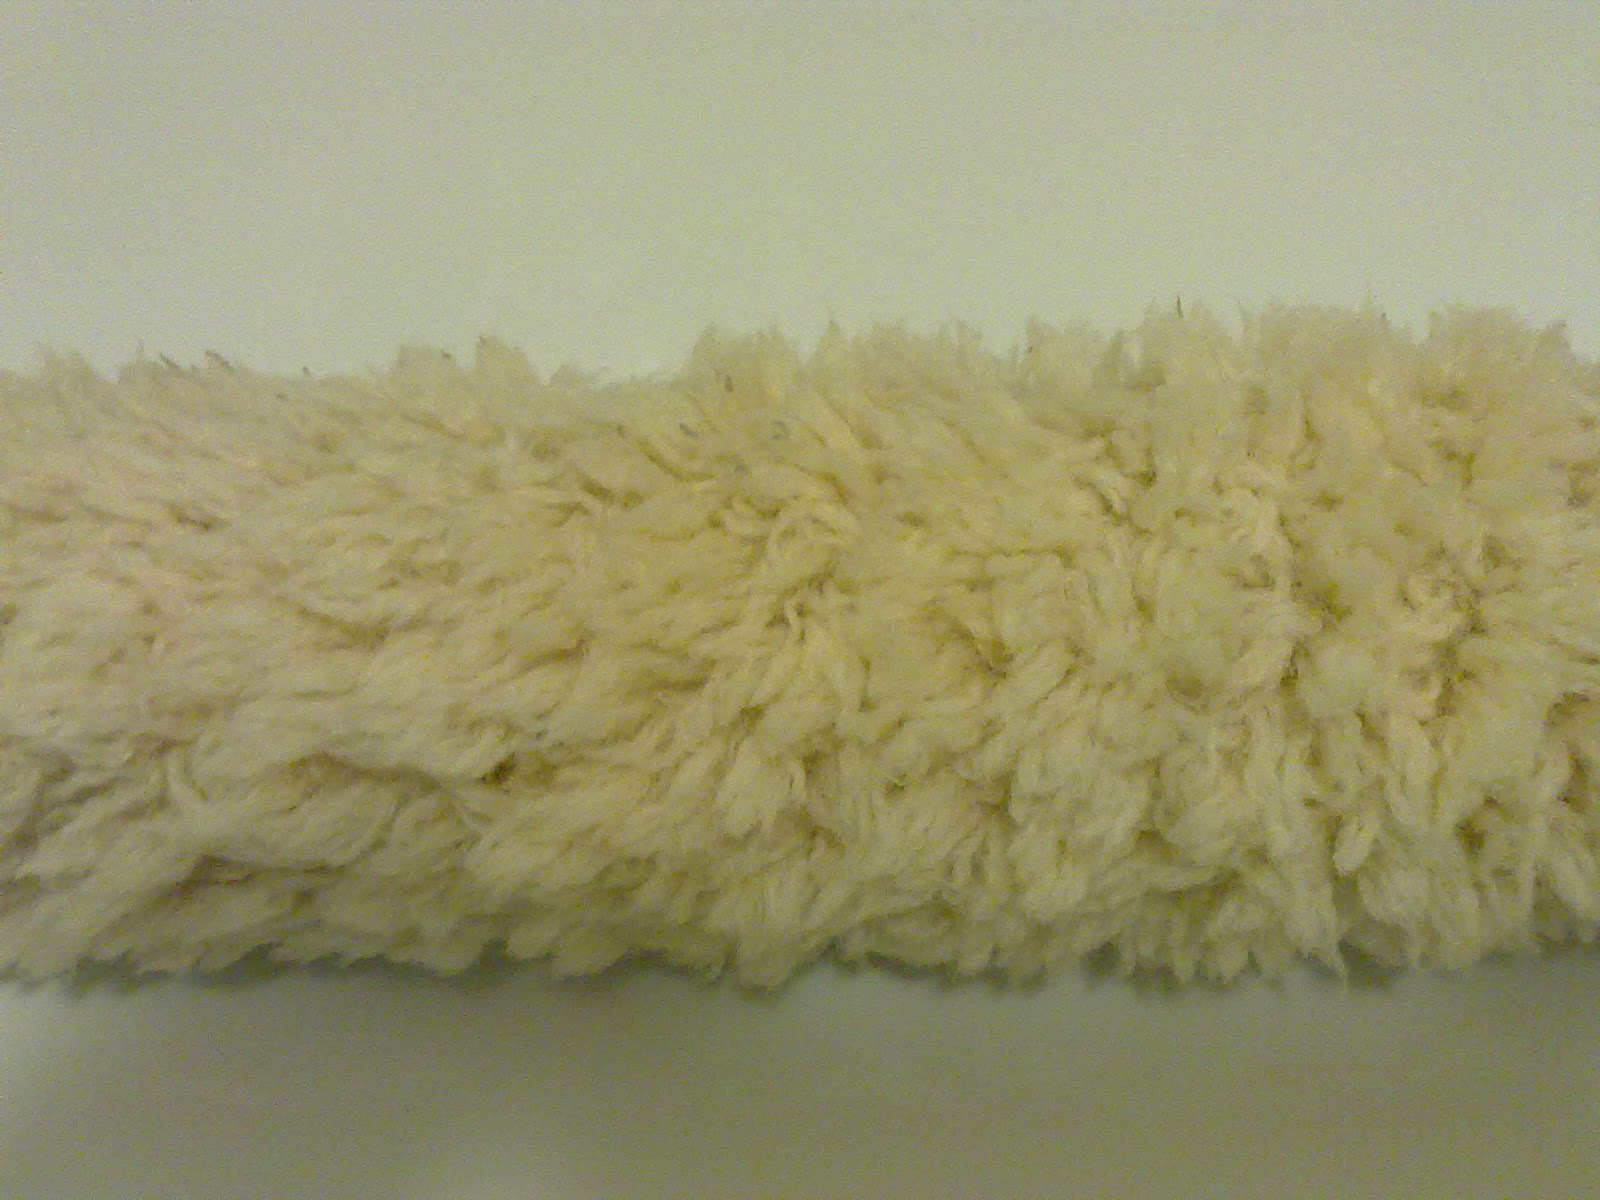 |
| Merino Roller after all wall painting completed. Ready for the next project! |
3. Use good paint. In the past, I have painted with Sherwin Williams, Benjamin Moore, and Behr paints. They all gave good coverage and seemed to do the job. This time around, I used Glidden Professional Paint. I am not sure if it was an improvement in my skills or the paint, but my painting clothes have very little paint on them and I did not have a lot of drips, runs or splatters. I don't know the technicalities of paint formulations, but it seemed the Glidden Professional had a good "body" to it and it didn't go anywhere it wasn't supposed to.
 |
| Transition between Grey/Green in bay window area achieved with Frog Tape. |
4. Ditch the blue tape for FROG TAPE. Project Girl loves, loves, loves FROG TAPE!!! Frog Tape stops paint from bleeding and running. It has some kind of coating so as soon as latex paint comes in contact with it, a seal is created. It is awesome on textured walls. The instructions indicate you need to remove it after painting. I used it on the baseboards when I did the trim and left it on for the entire duration of two coats. There were a few places that the tape stuck to the surface upon initial removal, but with a little bit of finessing and a small tweezers, I was able to grab ahold of those tiny pieces and remove them safely without damaging any of the painted surfaces.
5. Use a good trim brush. Trim brushes may be a matter of personal preference. A 2" angled brush provides good surface coverage and let's you stay in control. Picking the right brush for the right job probably involves some discussion with your paint store staff - firmness of bristles, type of bristles, length of handle, etc are all relevant criteria. Project Girl's preference for painting baseboards, window sills and door frames (e.g. "trim") is the Master Choice brand followed by Wooster Pro. (Wooster Pro is frequently mentioned in a professional painter's blog.) Purdy was OK, but the Performance Select brush really was not up to par.
 |
| Paint station with some of Project Girl's favorite tools. |
Our interiors are now completed and look gorgeous. Our living space is fresh, warm, cozy, and with complimentary colors that flow from room to room. Project Girl has finished the task and a satisfied smile lights her face.
Let us know what other tips and tricks you have discovered for interior painting or any other DIY projects you have tackled!
8 comments:
The tips on interior paintings are marvelous. However House Painting Services companies are doing the great effort to provide you with beauty in interior paintings.
I'm glad I followed your advice. I was pretty lost and had no idea how to do interior painting in Olympia, WA. Thanks for helping me fix up my house the way my wife wanted it.
Out of the ashes of my burned out corporate self, Project Girl emerged in the summer of 2011.
painters edmonton
edmonton painters
Home renovation is one of the most amazing ways to make your home more beautiful. Those who want to get ideas in search of renovation ideas that are luxurious and border on designs that are high end will be pleased to find that there are several many companies that cater to home renovations.
Click Here For Info
Hey there! This is a good read. Some ideas for new and different directions to take to help one stand out. House Painters Melbourne
interior paints is no more considered a difficult project for the home maintenance. With your valuable tips it becomes easier, always keep sharing valuable painting tips about home interior & exterior painting.
I would have ended up in physical therapy from the extended strain on my neck, shoulders and arms if I had tried to roll that much paint overhead. rendering adelaide
These were such phenomenal ideas for interior painting! I'm thinking about painting either two or three rooms in my basement. We are going to make our basement a livable area as well as a game area. What are some good colors that would make a perfect game room?
Sylvia | http://www.millerpaint.com
Post a Comment